

I’m excited to share this one with you! I call it a sandwich bread because it has great structure, but really it can be any kind of bread you need. You need french toast, bread pudding, or a grilled cheese? This one does it all! It has a sweetness from the brown sugar, just a hint, which is great friends with the oats in the mix.
It is a loaf to make on a Sunday, and lasts a few days even with my family of 4 because it is so hearty. Not bad for one loaf of bread! A big bonus is that it is healthier and cheaper than the same quality bread you could buy at the store. Enjoy and make it for your loved ones!
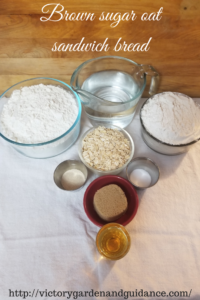
What you will need!
3 cups unbleached bread flour
2 more cups all purpose flour (for dusting when you roll it out, or if you have high humidity on the day you make it)
1 1/2 cup oats
1/4 cup brown sugar
2 teaspoons salt
2 teaspoons yeast
1 ounce of oil of choice (I use plain old canola oil)
2 cups hot water from your sink
If you have a stand mixer this will be very easy. If you haven’t invested in a stand mixer, it might change your life. I have a Kitchenaid™ and it is one of my best friends. I turn it on high, walk away, and it does all the work.
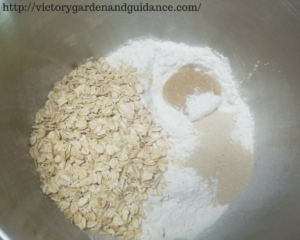
So the process: Dump all the dry ingredients and the oil into the bowl of the stand mixer, put on the dough hook attachment, and let it work the mix. Add in the 2 cups of the hot water you get from your tap after about a minute.
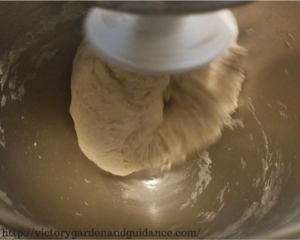
After that it should take 3 to 5 minutes for the dough to come together. You might need to add extra flour if your dough is too loose. What you will be looking for is for the bottom and sides of the bowl to be coming clean as it is mixing. Knowing when to add flour and when the bread is done mixing is something you will need to learn from experience; this is a harder step if you have never made bread before. Do not get discouraged and keep at it, practice make perfect.
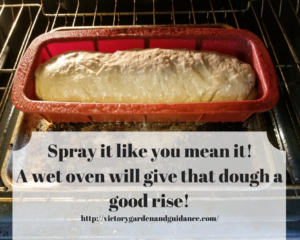
Once your dough is pulling away from the side of the bowl, it is time to take it from the stand mixer. Then place thw bowl with the dough into the oven. Spray down the top of the dough very well with water.

(Yup. Spray it down! Yeast needs moisture and warmth and food to creatre those little gas bubbles that makes bread we like to eat so much. Think of them as a micro-pet. When you are spraying down your oven, you’re giving them a bath, ensuring that they stay moist!)
Let the dough rise for 2 hours. It seems like a long time, but the cool thing is the yeast is doing most of the work.
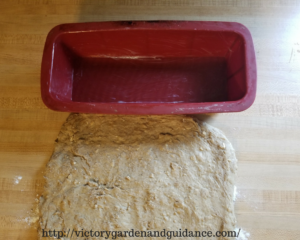
After some time has past. Put the dough on to a flour surface and press out with your hands or roll it out with a pin to the length of your pan.
Then spray down with water and roll up. This is to ensure no big air pockets form while it raises again. The water mixes with the flour and makes a glue that keeps the rolled dough together. Place the dough roll seem side down into the loaf pan. Place back into the oven and spray drown again. Then let rise again for an hour or 2, which depends on when you think it is perfectly domed. When you think it is, that’s the time to bake it.
When you are happy it has proofed enough. Take it out of the oven and turn the oven up to 350 degrees.
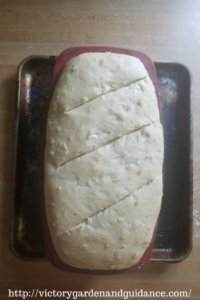
Score the top with a sharp knife and bake for 30 minutes, or until it reaches an internal temperature of 200 degrees.
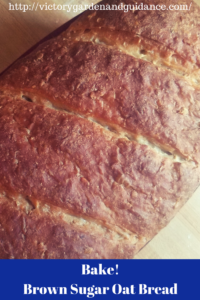
Slice thick or thin, then toast it with butter. Share this victory with your family!
If you don’t gluten, maybe you would like to try this historic rice bread down below.


Victorygardenandguidance
Latest posts by Victorygardenandguidance (see all)
- Mellow Mole’ - October 8, 2018
- Tomatoes for Christmas. How to give a gift of the garden, when December is far away. - September 19, 2018
- Brown Sugar Oat Bread - September 15, 2018