

Or: How I saved 100 dollars with winter sowing.
I love to garden. Not really. Well, sort of. Really it’s that I love to be outside with my kids, and I love to watch things grow. I get really bummed out when things die or are infested with bugs and then die. Also weeding can suck a big one.
Now I am in the process of reteaching myself how to garden in very new ways. In Michigan I grew up where you could plant acres and acres of whatever you want. If you lost some it didn’t matter much because you had so many, but now I have to garden smarter not bigger. I love the fresh produce I get from my garden, and the value of food you grow yourself which I can teach my children. We as a nation should know how much work goes into bringing food to our tables.
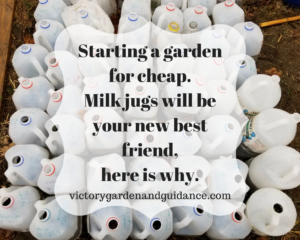
So from now until my kids are grown I will be putting in a garden. Why not learn a way to make it cheaper? Starting from seeds is cheaper than buying started plants from a nursery. So to try and of set the cost I tried something new:
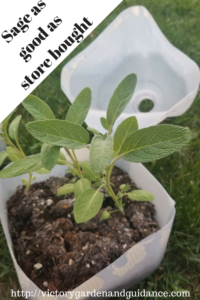
Winter sowing in a milk jug!
It sounds strange I know, but it actually works!
So this is how it works. I actually made tiny green houses.
Why would you want to do this?
Seeds are cheap…
If you know where to go: I suggest the Migardener click here for the website. He has a good product for a dollar. Not bad at all for a thing that might die. He also walks the walk and talks the talk. But in truth once you have your seeds, they will take up a table for two weeks at best when you are trying to figure out what to plant when…
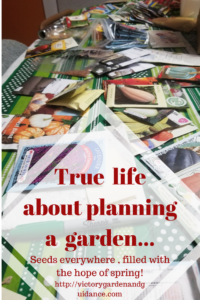
The cheapest seedlings I could find where 3.50 for 4 plant or 2.50 for 1. So starting a garden can add up really quick. If you are like me and want to try everything this is also not cheap. But if I go for seed it give me the hope of something new with a smaller price tag.
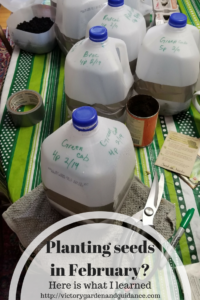
So I started on Febuary 19th my first batch of milk jug containers. I Know Brassica will sprout in colder weather, so I planted them then: broccoli, red cabbage, and green cabbage.
So the process goes as followes:
1 clean milk jug cut almost in half, with a little bit left to form a hinge
Good soil
Seed
spray bottle
duct tape
So in the milk jug I poked holes in the bottom, for drainage. Then cut half way up, almost all the way through. Leaving enough connected to make a clam shell container.
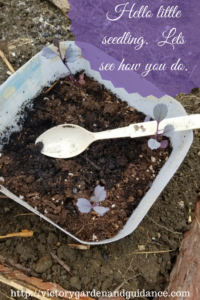
I put in wet organic potting soil. Then put in my seeds and covered them with a seed starter: a lighter soil so that it does not weight down the seedling when it starts to sprout.

Then I spray it with water heavily. This was the only time I watered the containers. I wanted to see how they would handle being totally ignored, so I started them off well.
Once they where ready I closed up the milk jug with duct tape and wrote what it was, the amount of seeds used, and the date started.
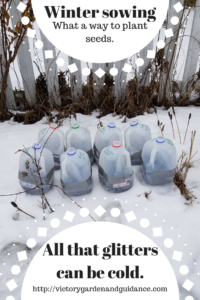
Then I threw them out in the snow. I was pretty sure they where going to die… It would look like a bilzzard outside and as the snow would gather by the inches, and I would think “Yup… Going to die.”
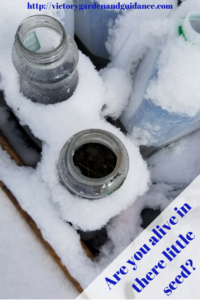
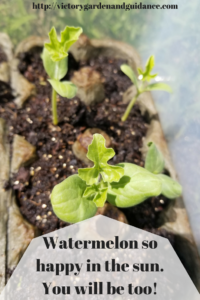
As luck would have it they didn’t, and I have something to write to you about! I even put some soil in to egg cartons and then in 2 clear totes I had, just to see what happens. Patience is not my strong virtue, but I can manage if I have too.
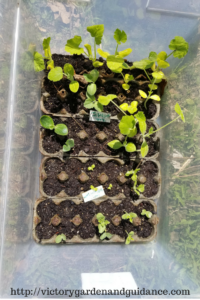
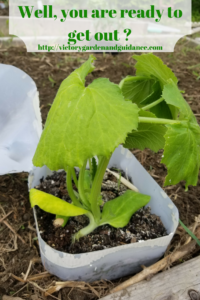
My watermelons and squash came up. It got a little dry in there, so some did die. I had some solid seedlings to begin with. It makes me quite proud of the success I have thus far.
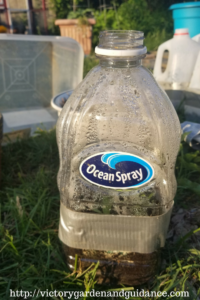
I didn’t like thicker plastics like ocean spray or simply orange bottles. It was very hard to put holes into for drainage. Then when it came time to take out the plant they snapped back on me almost crushing the plant. I will not be using them again.

Good roots though, because they have so much more room they are not root bound, which is great. I was so surprised when I could just pull out my leeks without breaking or tearing the roots! That alone is a great reason to start your own seeds: Most store bought seedlings are root bound, and if left in a bundle like that they will choke the plant. The roots above are from the zucchini from down below.
So all and all a great start this year! I have learned a lot which is great. I can’t wait until next year to see how I change my setup. I know moisture was a problem for me this year, some of dud containers where as dry as a bone. It wasn’t a lot: I had 56 containers and only 8 had nothing inside. I take that as a hopeful sign: this was my first year and I wanted to see what would happen if I didn’t touch them at all until planing time.
Total cost for the winter sowing: (or the math behind it)
2 bags of good organic potting soil bought at the end of summer for 80% 0ff. I got them for 2 dollars each.
4 dollars for good soil
1 dollar of seed starter soil
I had a lot of seed so didn’t need to purchase any, except to replaced what I used.
.99 Moon and Stars Watermelon *Organic*
.99 Lemon Cucumber
.99 Dragon’s Tongue Bean
.99 Green Malabar Spinach *RARE*
.99 Shogoin Turnip
5 dollars in all
2 dollars duct tape.
So in total 12 dollars with 20 hours of prep for the containers
If I would have purchase my seedlings
4 cell blocks at 3.50 per
red cabbage
green cabbage
kale
broccoli
lemon cucumber
regular cucumber
yellow pear tomatoes
red heirloom tomatoes
morning glories
nasturtium
total 35.00
individual cells at 2.50
summer squash x 9
watermelons x 8
winter squash x 6
pumpkins x 12
total 87.50
All together 122.50
12 dollars vs 122 dollars
This is my Victory and I can’t wait to hone my skills for next year.


Victorygardenandguidance
Latest posts by Victorygardenandguidance (see all)
- Mellow Mole’ - October 8, 2018
- Tomatoes for Christmas. How to give a gift of the garden, when December is far away. - September 19, 2018
- Brown Sugar Oat Bread - September 15, 2018